Timelapse video production

In this blog I will be taking a look at the who, what, why, when, where and how of time-lapse video recording. Firstly, let’s look at a basic definition for this increasingly popular production method:
Time-lapse – a method of recording movement or events such as a plant growing, clouds in the sky, the construction of a building, traffic on a busy road or the movement of the stars at night whereby individual frames are captured at predetermined intervals and when played back producing an accelerated view of the event or process.
Great examples of this can be found here (thank you Enrique Pacheco)
Memories from Iceland from Enrique Pacheco on Vimeo.
Time-lapse image making is yet another tool in the DSLR video maker’s toolkit. There are times when this unique method of video production is both essential and quite beautiful.
Why time-lapse
For time-lapse to work there has to be movement, however, not all movement works for time-lapse! You need to decide if your subject, event or location will make an interesting time-lapse. Consider how it would benefit from this type of recording….what does it add. If the answer is ‘very little’ then don’t bother. If it is providing narrative or emotion or perhaps just looks spectacular, then, it may just be worth doing.
You are essentially taking photographs….lots of them. It’s all about the frames; video runs at 24-30 frames per second. The very first time-lapse recording I made was for a client who was having the exterior of their six storey building painted. The job was estimated to take around two weeks to complete. I set up my DSLR in a building opposite which gave me a clear and uninterrupted view and linked it to my laptop. The kit was switched on when the painters started and off when they finished. I decided to record an image every 5 minutes, which would provide 12 photos every hour and 96 images every day (that’s 4 seconds worth of video). This equates to 480 photos per week and 960 images over the two weeks it took to paint the building. The client brief clearly stated less than 60 seconds run time. We came in at exactly 40 secs without titles. Time-lapse was by far the best way to demonstrate the changes that were taking place with the building, hence it was our prefered method.
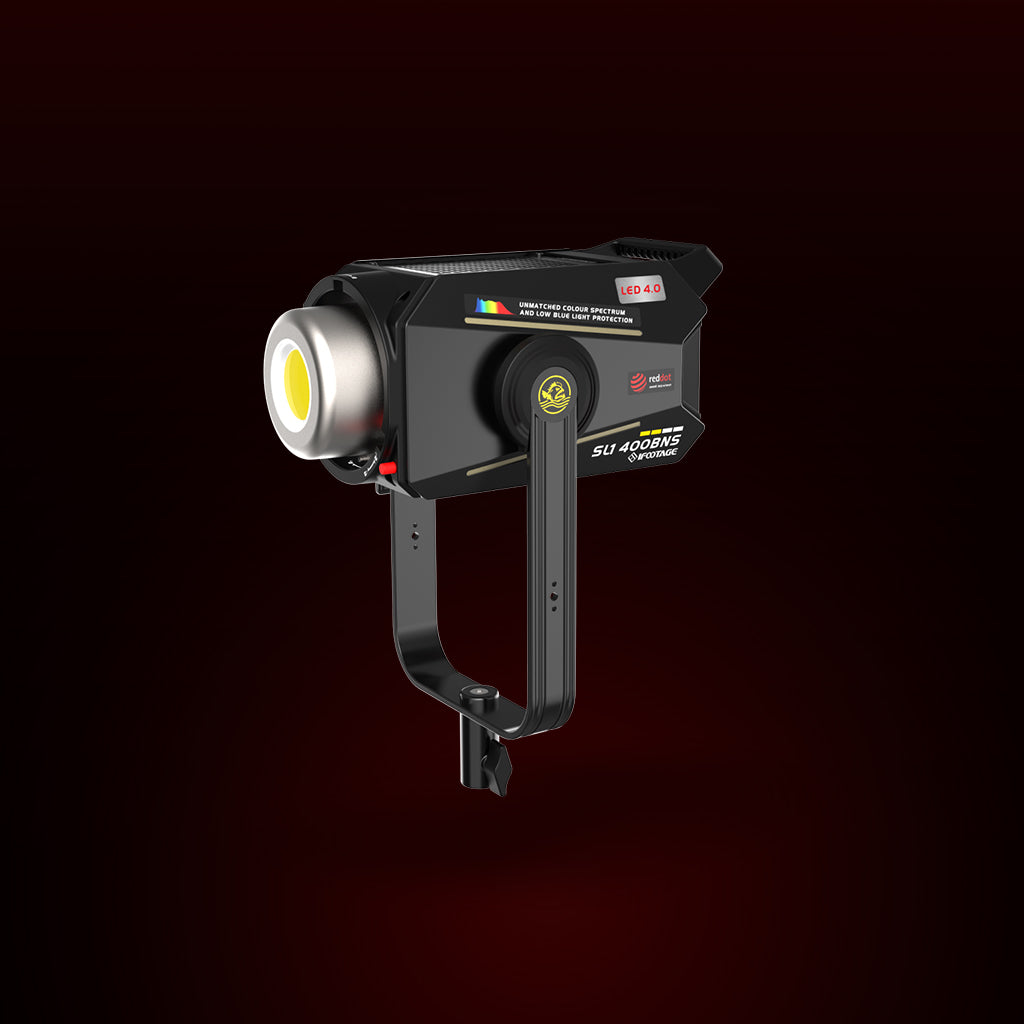
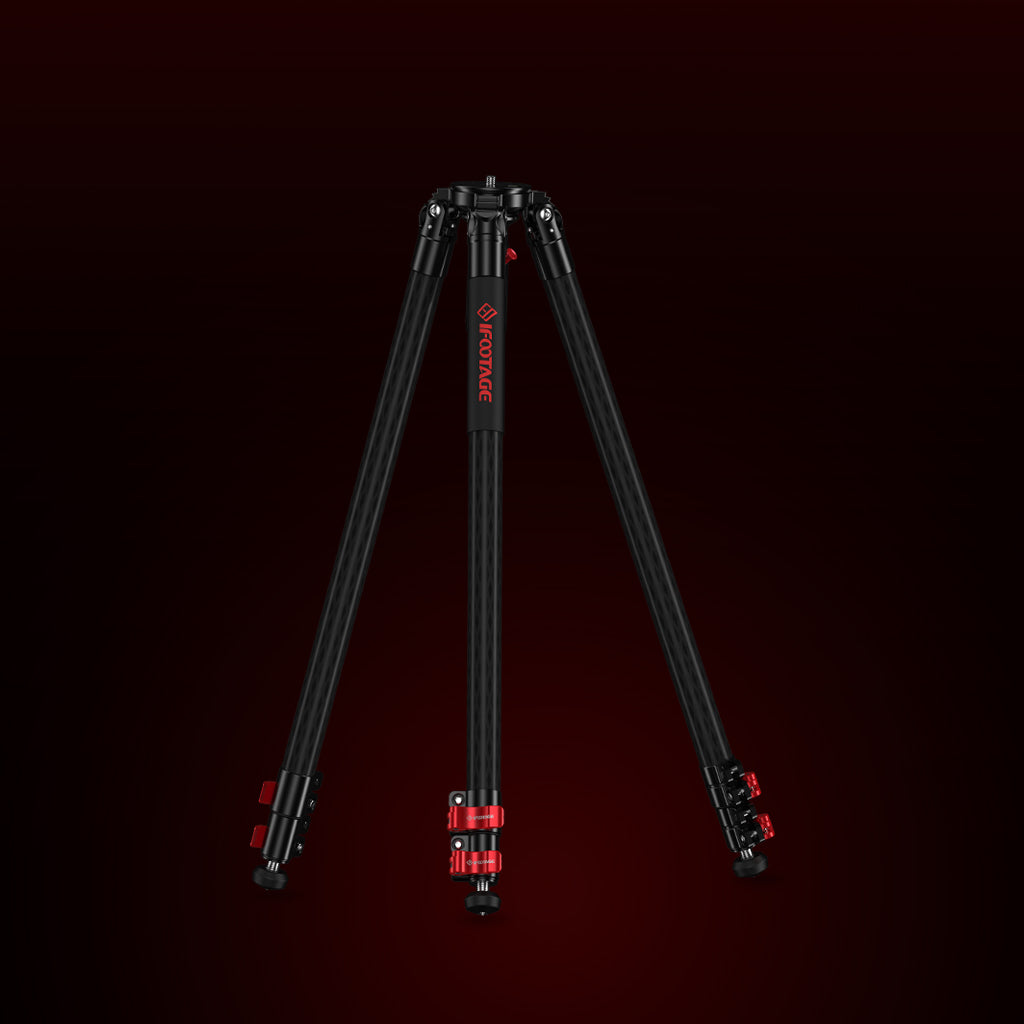
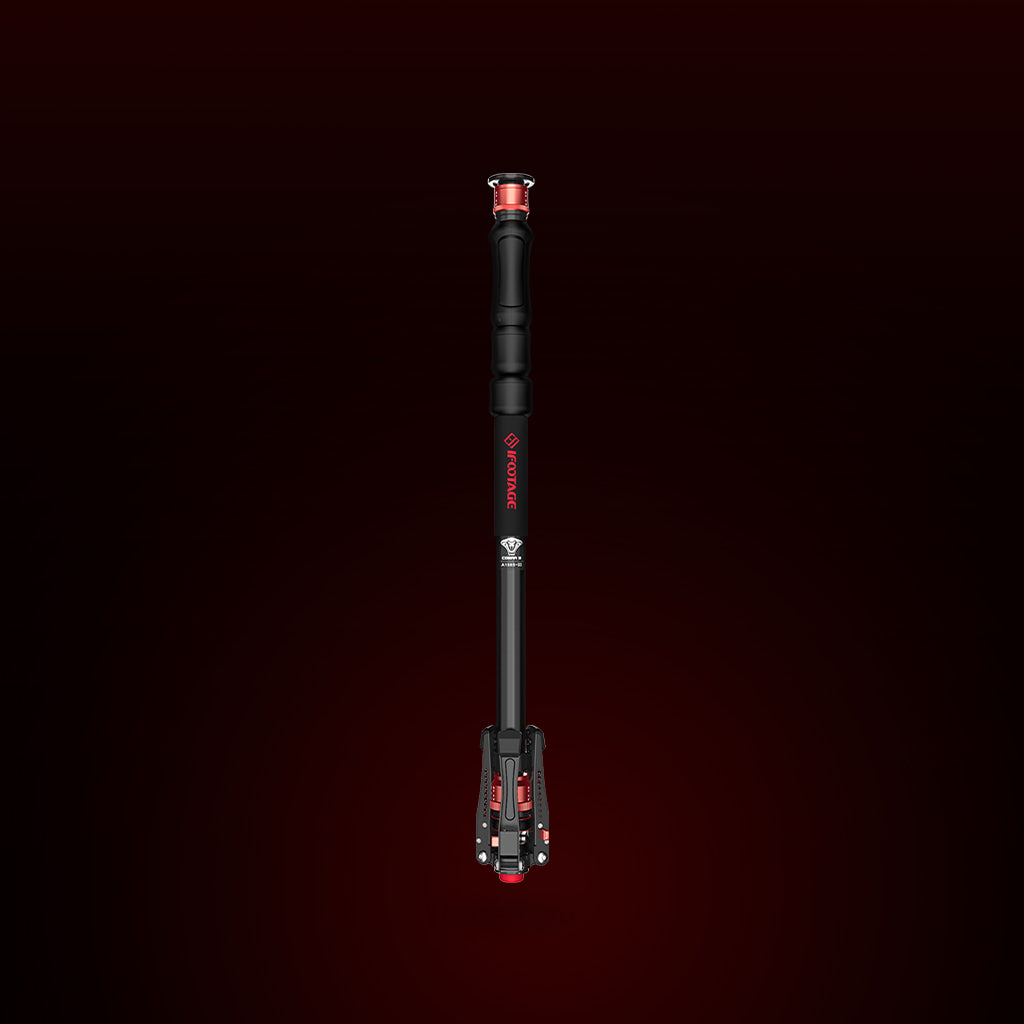
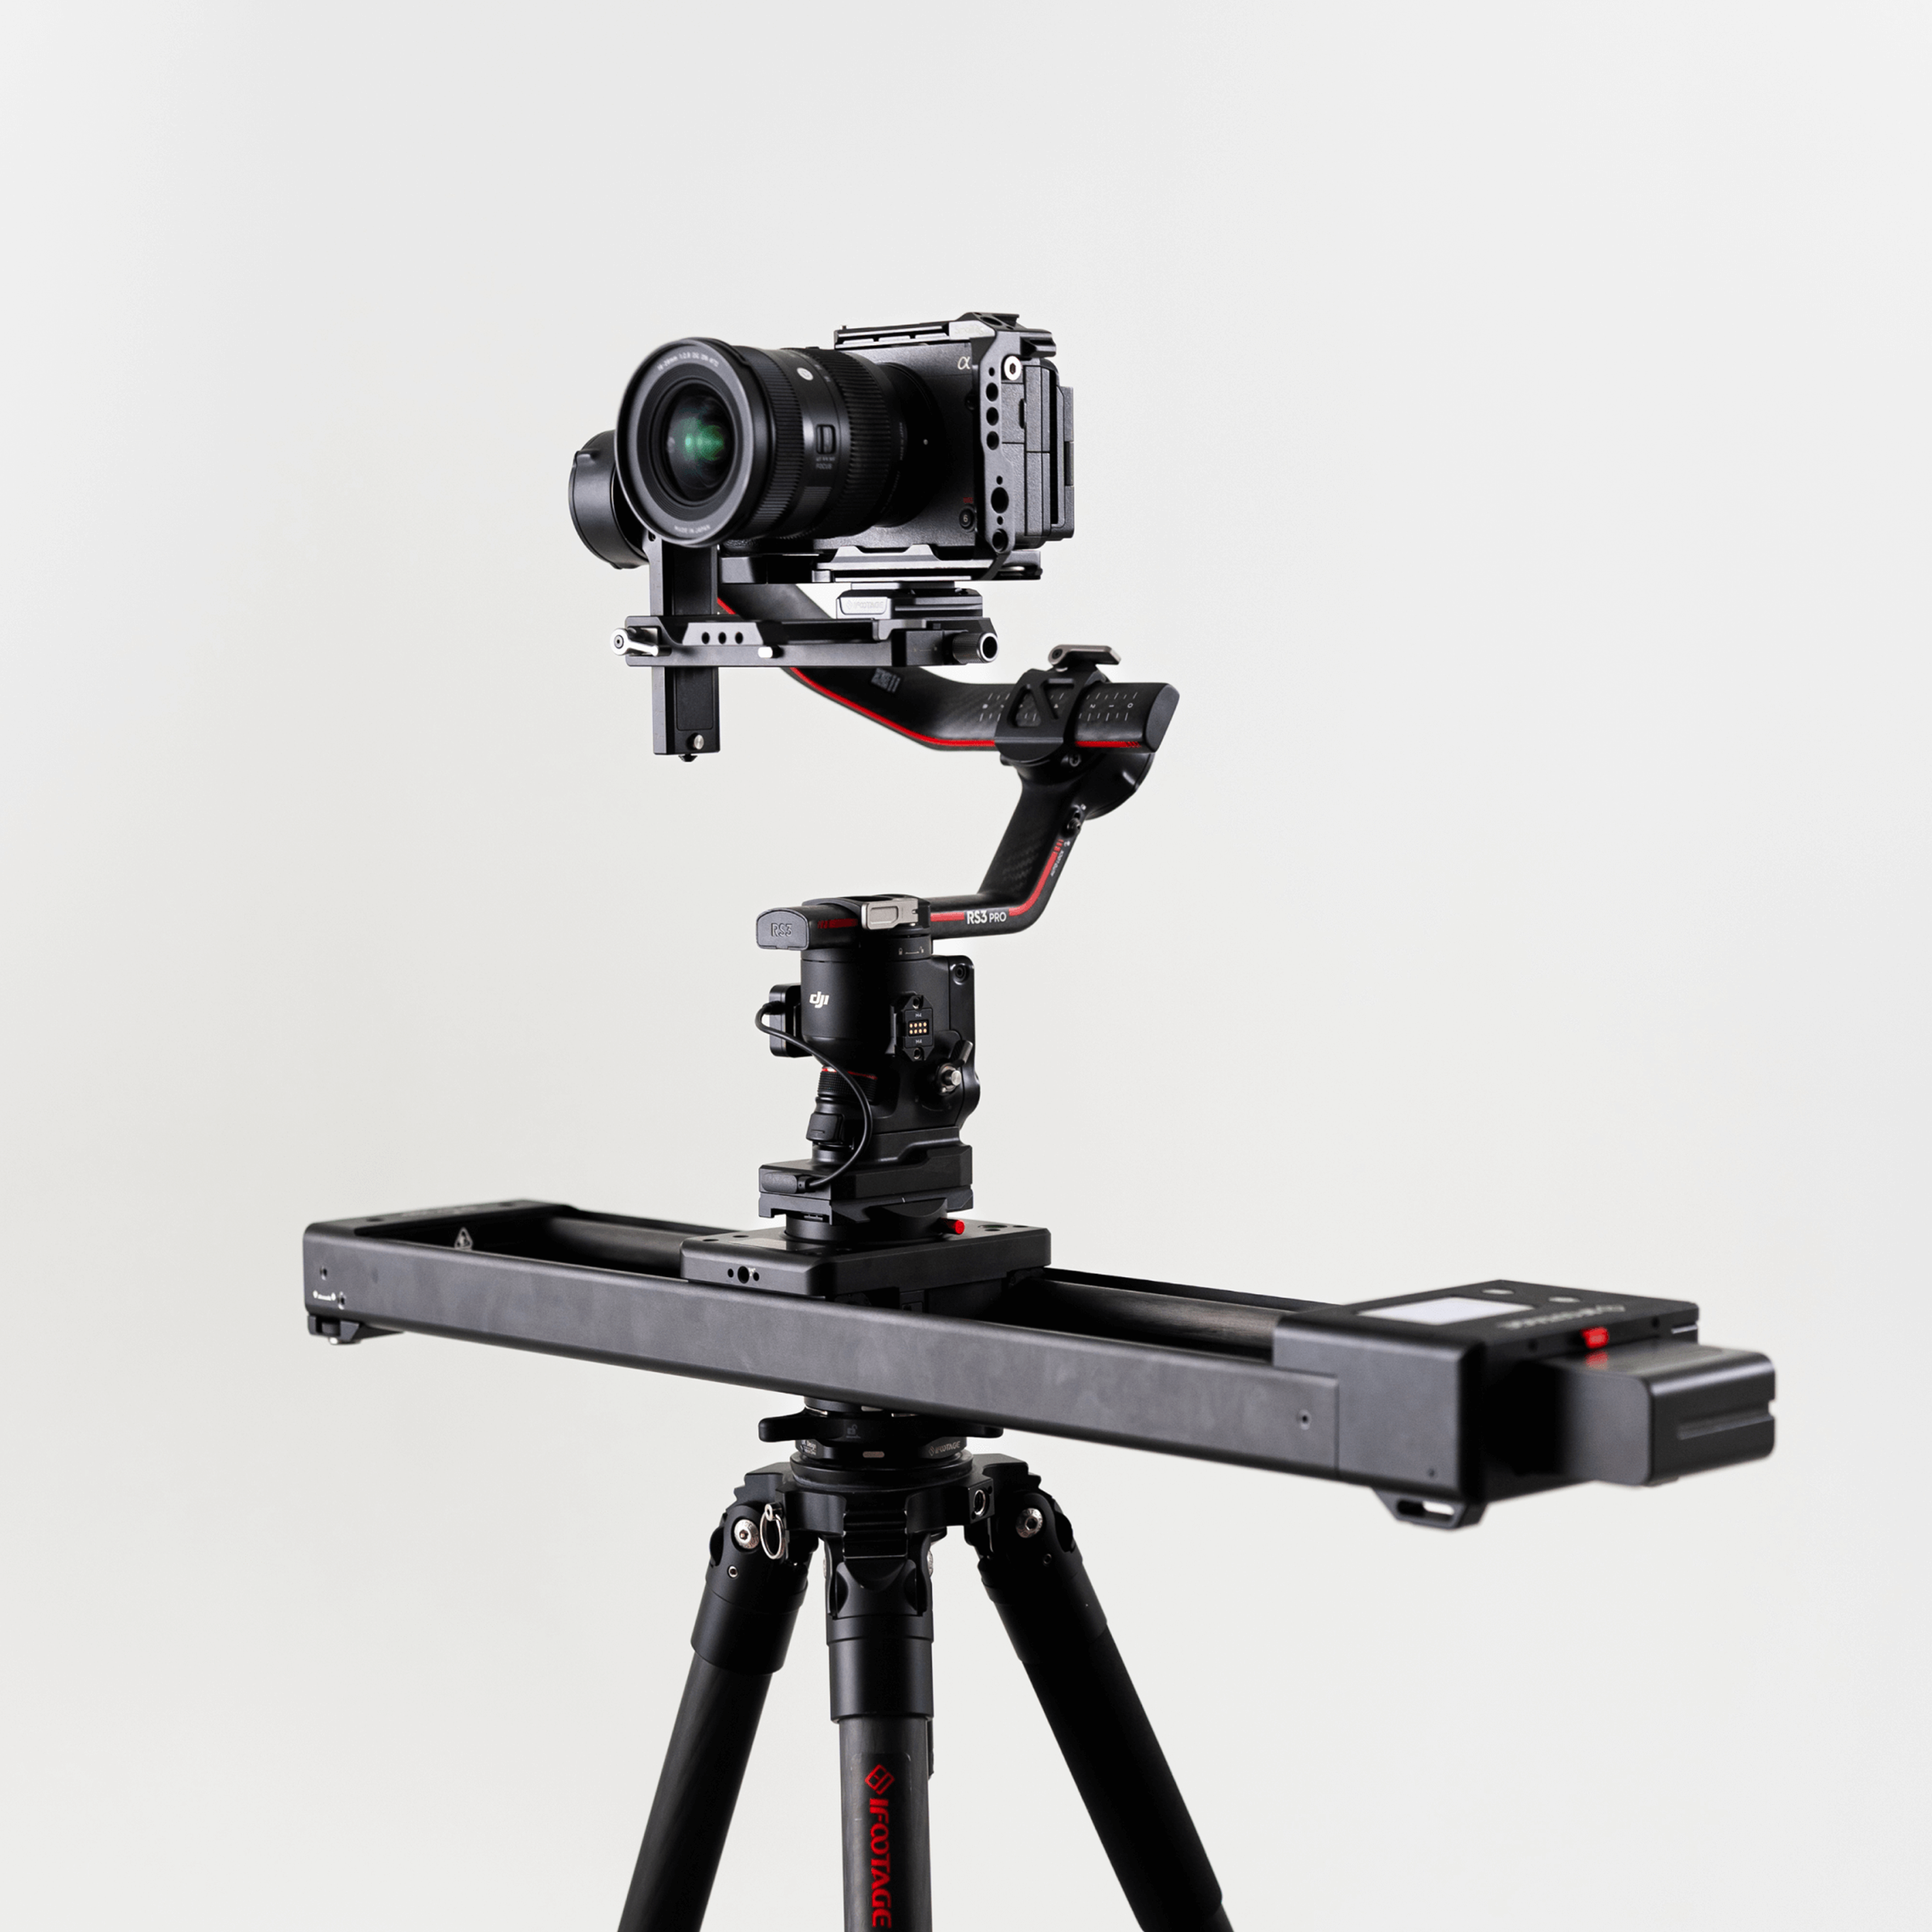
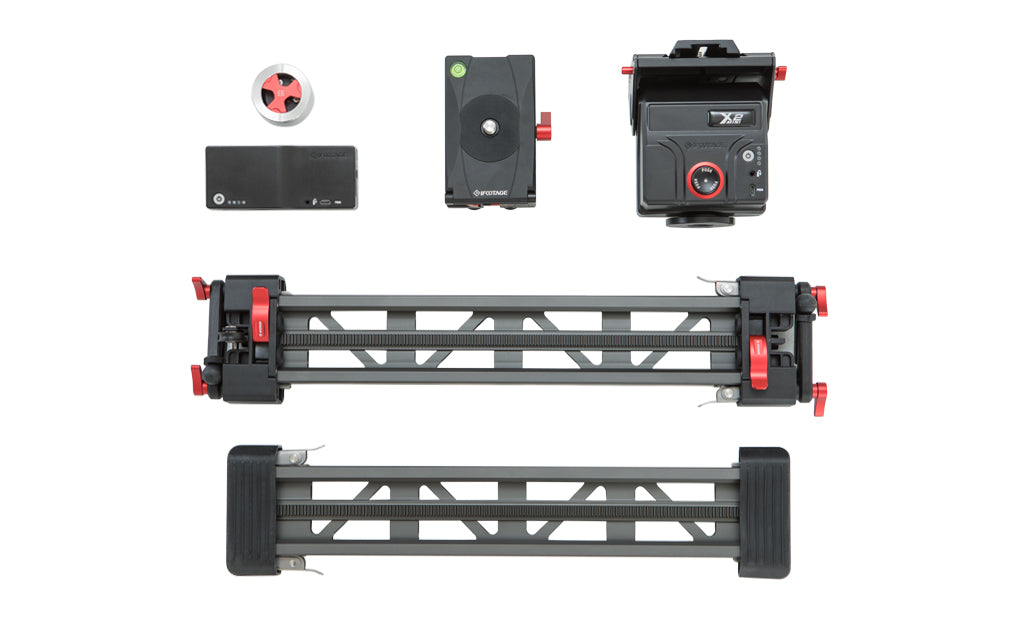
The kit
A DSLR camera is a must for this type of work. However, you can shoot on a smartphone or an action camera, it really depends on the job you have in hand, the duration of recording, access, costs and the overall quality of the finished product. I produced a timelapse of a massive warehouse filling with crates. We used three action cameras and it took over six weeks to complete, numerous scheduled SD card changes (most of the cameras were over fifty feet from the ground) and quite a bit of post production, but it was the right kit for that job.
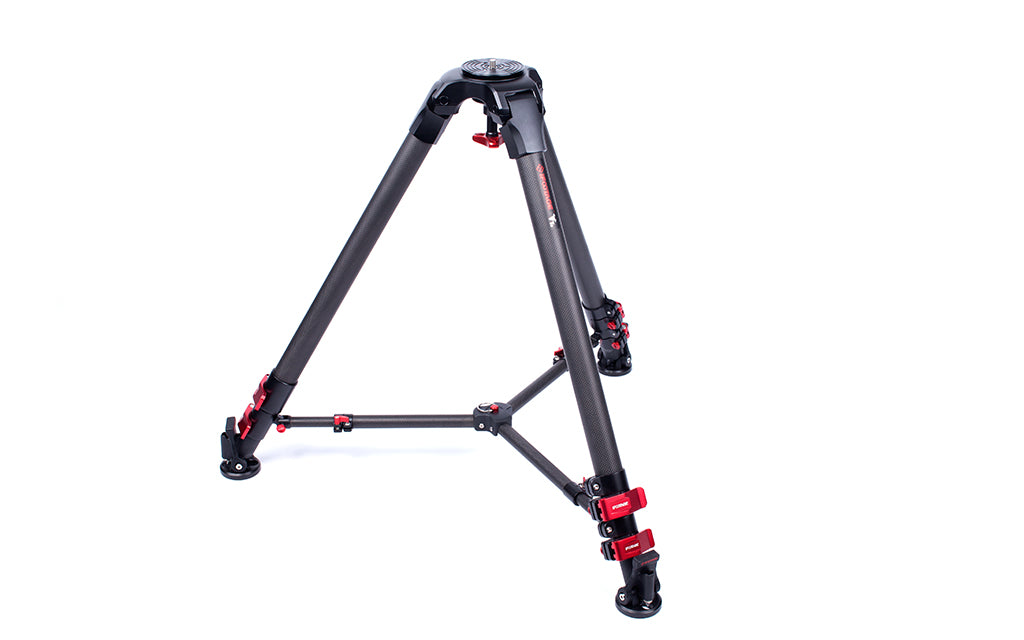
A good quality tripod, heavy duty preferably, but a lightweight tripod can always be secured or weighted down.
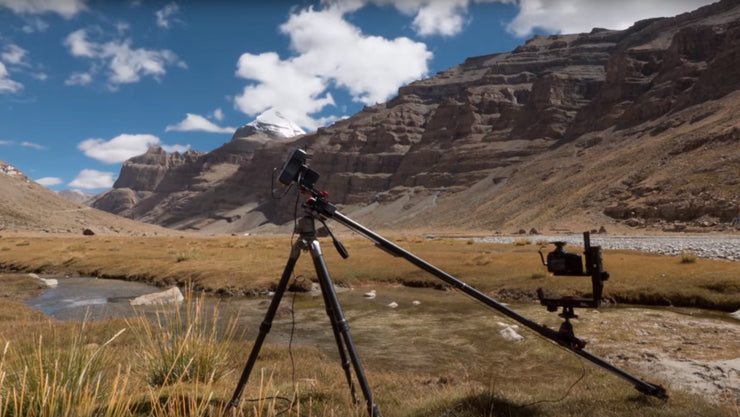
A wireless motion control slider if you want camera movement
A means of presetting and shooting- basically, an automatic trigger. Some DSLR cameras have this function, or you can use an ‘intervalometer’. There is a variety of software available to use on your laptop which will carry out this task. I also recall a camera battery grip with this facility.
https://www.samys.com/imagesproc/L2ltYWdlcy9wcm9kdWN0L21haW4vUy0wMjExNjB4NjAwLmpwZw==_H_SH400_MW400.jpgIntervalometer
Good quality ND filters
Branded SD cards (larger the better)
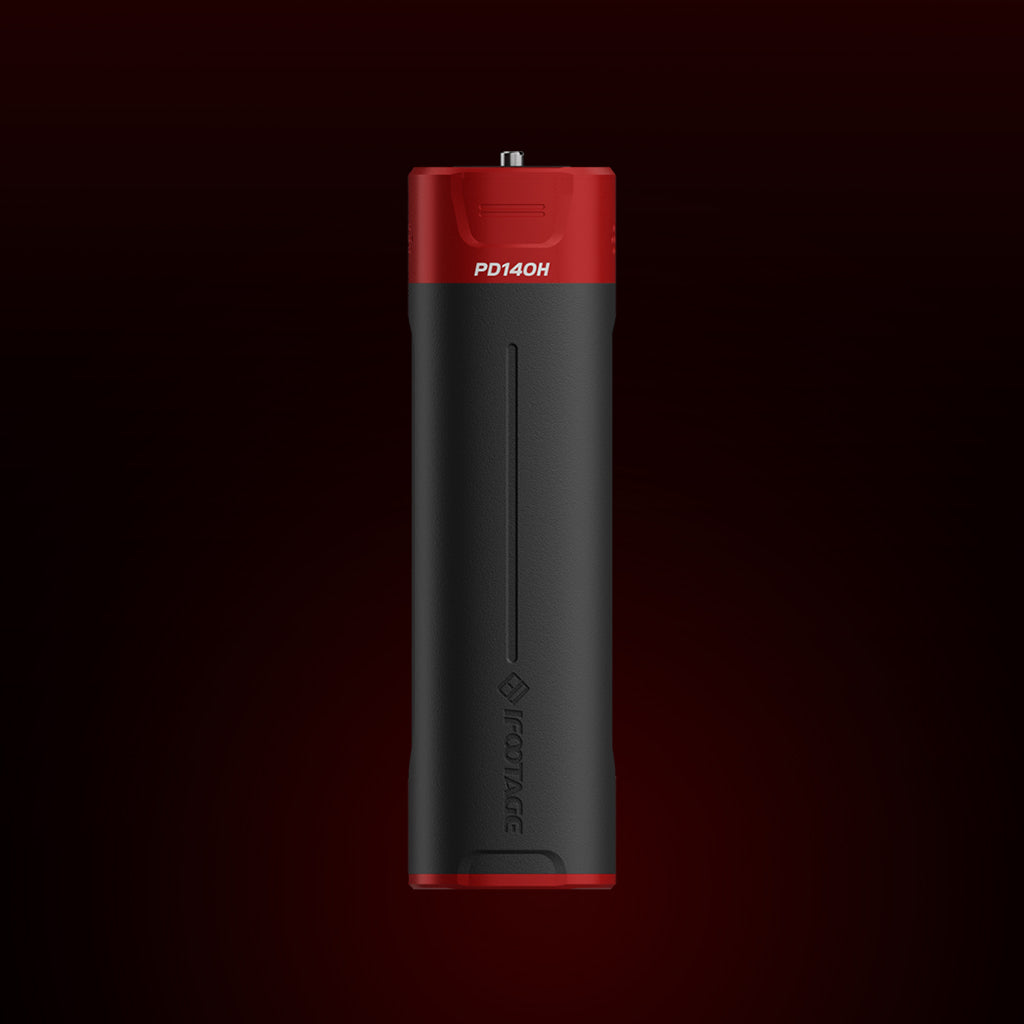
A sustained power supply if you are recording for long periods eg over 6 hours. A battery grip or a USB power converter would be an excellent addition here.
The right steps
Once you have chosen your subject, you need to plan and organise. A remote recce is always a good start and acquiring local, specific knowledge and info such as sun up sun down times, tide times, weather forecast, permissions, access, logistics, risk assessment etc will help.
As with all shoots, ensure that you are working with a detailed kit list as there may be no going back for the camera plate or spare battery if you’re working in a relatively remote location.
Once you’ve got your kit to the location, take some time to ascertain the very best position to set up. Check the overall stability of the tripod and camera as any movement would detract from your time-lapse.
The Aesthetics
Now we come to shot composition. It is often aesthetically more pleasing to include foreground object(s). Ensure that these are static and have very little or preferably no movement, as this also distracts. You may wish to treat this composition in the same way an artist would, looking carefully at focal points, depth of field, edges, foreground and background etc. This is a very dynamic, concentrated visual medium so subject and composition need to be carefully considered.
Need a timelapse example here – If sky is dramatic or sun in shot over theatre use photo of kit set up looking across the river at the building with tree in foreground or move across to the side to the church.
Programme your shot times and overall recording duration
Set camera manual controls: exposure, ISO, aperture, shutter speed, focus and white balance
Check over everything again, test shoot, final checks and record!
Recording intervals for time-lapse
These might help you in deciding what time intervals you should record at:
Fast moving clouds or moving vehicles 1-2 secs
Sunrise and sunset, slow clouds, people 2-3 secs
Sun or moon moving across the sky or horizon, stars or cityscape 20-30 secs
Construction sites and plants, 2 minutes and upwards
The more images that you take within your allotted recording time span, the smoother your video will look. Conversely, the fewer images, the rougher or more blocky the finished video will look.
Some useful tips
keep it manual and record, wherever possible, in a high quality recording format such as RAW (12-14 bits)
Only use a motion slider if it adds something to the video, otherwise keep it simple and let the subject do all the talking
Use a slow shutter speed
Use an ND filter for daylight recording and this combined with a slower shutter speed will produce motion blur. This provides a desired additional dimension to time-lapse recording as it smooths out the tiny movement between images providing that ethereal blur or what some might refer to as a softer more cinematic look. Graduated filters are also worth considering, especially if your camera is locked off.
Avoid digital flicker which is caused by exposure changes in frames which then don’t match other frames. This can result in an irritating strobing effect. Shoot in manual, selecting suitable f-stop and shutter speed and manually set your ISO and white balance. Set the lens to wide and use a slow shutter speed with ND filter…….this should work. If it fails then you can always resort to ‘deflickering’ post-production software!. According to Ben Saradzic, there are three causes of flicker. For more detailed information please check out his excellent tips: https://iso.500px.com/timelapse-video-photo-tips/
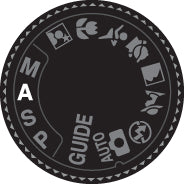
If your available light is looking inconsistent, try using the camera in ‘aperture priority ‘mode
Don’t leave your equipment unattended. There are hundreds of time-lapse film makers scouring the planet looking for their stolen equipment as we speak…well, actually just one that I know of and I wasn’t asleep, I was just resting my eyes when the kit went missing.
Wireless remote motion sliders
This is becoming a more affordable option and there are a number of good quality remote sliders now available.
Everything I have discussed above applies, except, of course that you now have the programmable capacity to create even more camera movement; tilt, pan and slide. Just set this baby up and watch her go. Well actually that’s not quite true as the movements may be almost imperceptible to the human eye if you happen to be filming 6 hours of night sky!
Having spent a long day or night watching over your precious equipment, the next stage is to digitise or capture, view, edit, apply music, titles, export and share.
Editing
Now that you have hundreds of images, they may need tweaking.This can be done in Photoshop using the ‘action and automate’ function or for the photographers amongst you- using Lightroom. Both allow for batch post production manipulation and effects which removes the tedium of having to work on each image separately.
You may now use your favourite video editing software to assemble your images into moving image. There is free software for this such as Time-lapse Assembler. As with all video production, do not forget to plan and research your music. If you want to get your work out there you should pay for your carefully selected soundtrack. There are a lot of great musicians and a huge choice of different kinds of music to chose from. Spend some time finding the right track, you can download watermarked versions to test out with your video and purchasing a licence for a track is usually no more than £15 – £20.
Hosting
Personally, I find some sharing sites such as Youtube offer very poor quality in playback. Best around at the moment is probably Vimeo.
Enjoy!
Please look out for the compendium blog to this one on hyperlapse video production