Using a Stabilizer
With the perpetual move towards miniaturization allowing us access to smaller and lighter cameras, the need for handheld stabilizers continues to grow. Though many cameras offer some sort of image stabilization system, nothing can beat the free flowing, cinematic type movement produced by a good quality stabilizer.

Why use a stabilizer at all?
- I guess the clue’s in the name! It provides a more stable, smooth shot and reduces shaking and unwanted camera movement.
- Not only does it ensure consistently smooth, controlled movement it also provides a multitude of different camera angles and positions.
- Camera stabilizers increase your creativity and offer a far greater range of shot and movement possibilities, which, in turn, adds visual value to your production.
- Many are very portable and quick and easy to set up.
- They can provide a practical solution in difficult recording situations where standard support equipment, such as a tripod or crane, are simply not an option.
- As an essential item of camera support equipment, many are now very affordable.
Thinking of getting one?
If you do not currently own one, then you might want to ask yourself the following questions prior to parting with your hard earns:
- How much can I afford to spend?
- What type of camera, weight and lens will I be using?
- When and why would I need to use it (what type of shots and situations)?
- Overall size, complexity, assembly and setup time?
- Portability and packed size and weight?
- Powered or manual?
- Reviews-what do other users say?
What’s available?
There is a huge range of camera stabilizers including gimbals, steadicams and manual stabilizers out there- ranging from mobile phones through to professional film camera rigs; all designed to do pretty much the same job for different sized cameras. For the majority of DSLR and mirrorless camera users it’s an exciting world of choice. The main difference is between powered and non powered systems. I’m a big fan of gimbals and acknowledge how they have revolutionised camera movement, but I still prefer to use my manual stabilizer for the following personal reasons:
- It’s quick and easy to set up and balance
- It has no electronics or tech that can malfunction or let me down
- Gimbals have predictable mechanical, pre-set moves
- I don’t need to charge it and it never runs out of power prior to or during shooting.
- It relies totally upon my skills and ingenuity as an operator.
- It’s a simple low cost option.
- And finally, it is as individual as I am and as a filmmaker I prefer to have total control over the movement of the camera, so basically, the stabilizer is able to interpret my individual movements, intentions, thinking and dare I say, emotions!
Having said all that, there are times and situations when I wished that I was using a gimbal and not a stabilizer! Over-all, my main argument in favour of using a manual stabiliser is around individualised, creative control and execution. The lack of powered automation requires elements of skill and practice and as a camera operator I’m down with that!
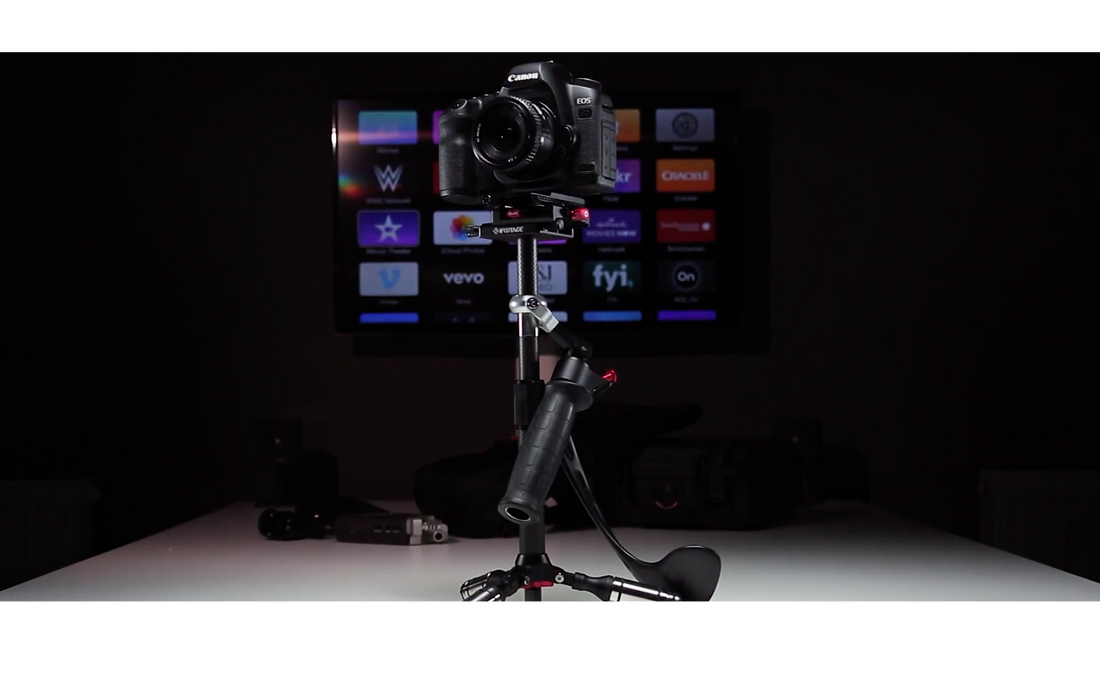
My checklist for the best way to use a manual stabilizer?
- The most important part is the correct set up and balance. Once you’ve got that bit right, you’re good to go!
- Don’t pack a heavy rig-keep it lightweight.
- Plan your shot including where you intend moving-look for obstacles and how you will move the camera. This means thinking about shot composition and your angles of viewing.
- If possible, rehearse the movement and shot.
- Carry out your shot.
- Move like a Ninja! Small steps with knees bent…..looks pretty odd, but works!
- Fix your focus on the most important part of the movement and if needed allow your subject to come in or out of focus as a result of their movement or yours.
- Increase your depth of field by stepping down the aperture. This will provide you and your subject with more space and better visual material.
- Try and maintain a fixed distance between you and your subject.
- Use the widest lens available to you as this will again increase depth of field and provide a steadier looking shot.
- Monitor focus using the ‘focus peaking’ option available in many cameras so that you know when your subject is in or out of focus.
- Practice!
Using a manual stabiliser is fun and requires some skill and practice but it is also very satisfying and well worth the time and effort. If you want to see more on how to successfully use stabilisers, please take a few moments to watch the accompanying excellent video by talented filmmaker Anders Overgaard.
Enjoy!!!